Containerize a Nginx web application using Docker
Overview
Imagine you have spent much of your valuable time in developing an application and if works as expected in your system. However, you later find out that the same application does not work as expected for other users.
This issue is quite common and is caused due to multiple factors such as the required libraries, frameworks, and other dependencies are missing in the systems of others users.
Containerization solves this problem by packaging your application code and all of its dependencies so that it runs in an isolated environment called as container.
Containers can be moved across platforms and infrastructures, the application would work in same way because it has everything it needs to run successfully within it.
In order to containerize an application, we need help of container runtimes like Podman and Docker.
In this blog we will use Docker to create a container running Nginx web service.
Pre-requisites
Install Docker Engine or Docker Desktop.
Create a Docker container
The creation of a Docker container is 3 step process:
- Create a Dockerfile.
- Build an image.
- Run a container.
A Dockerfile is a script consisting of a set of instructions for building a Docker image.
A Docker image is a collection of packaged application, along with its dependencies, and information on what processes it runs when launched.
A Docker container is a running instance of the Docker image. Multiple containers can be created from the image but an image cannot be created from a container.
Create a Dockerfile
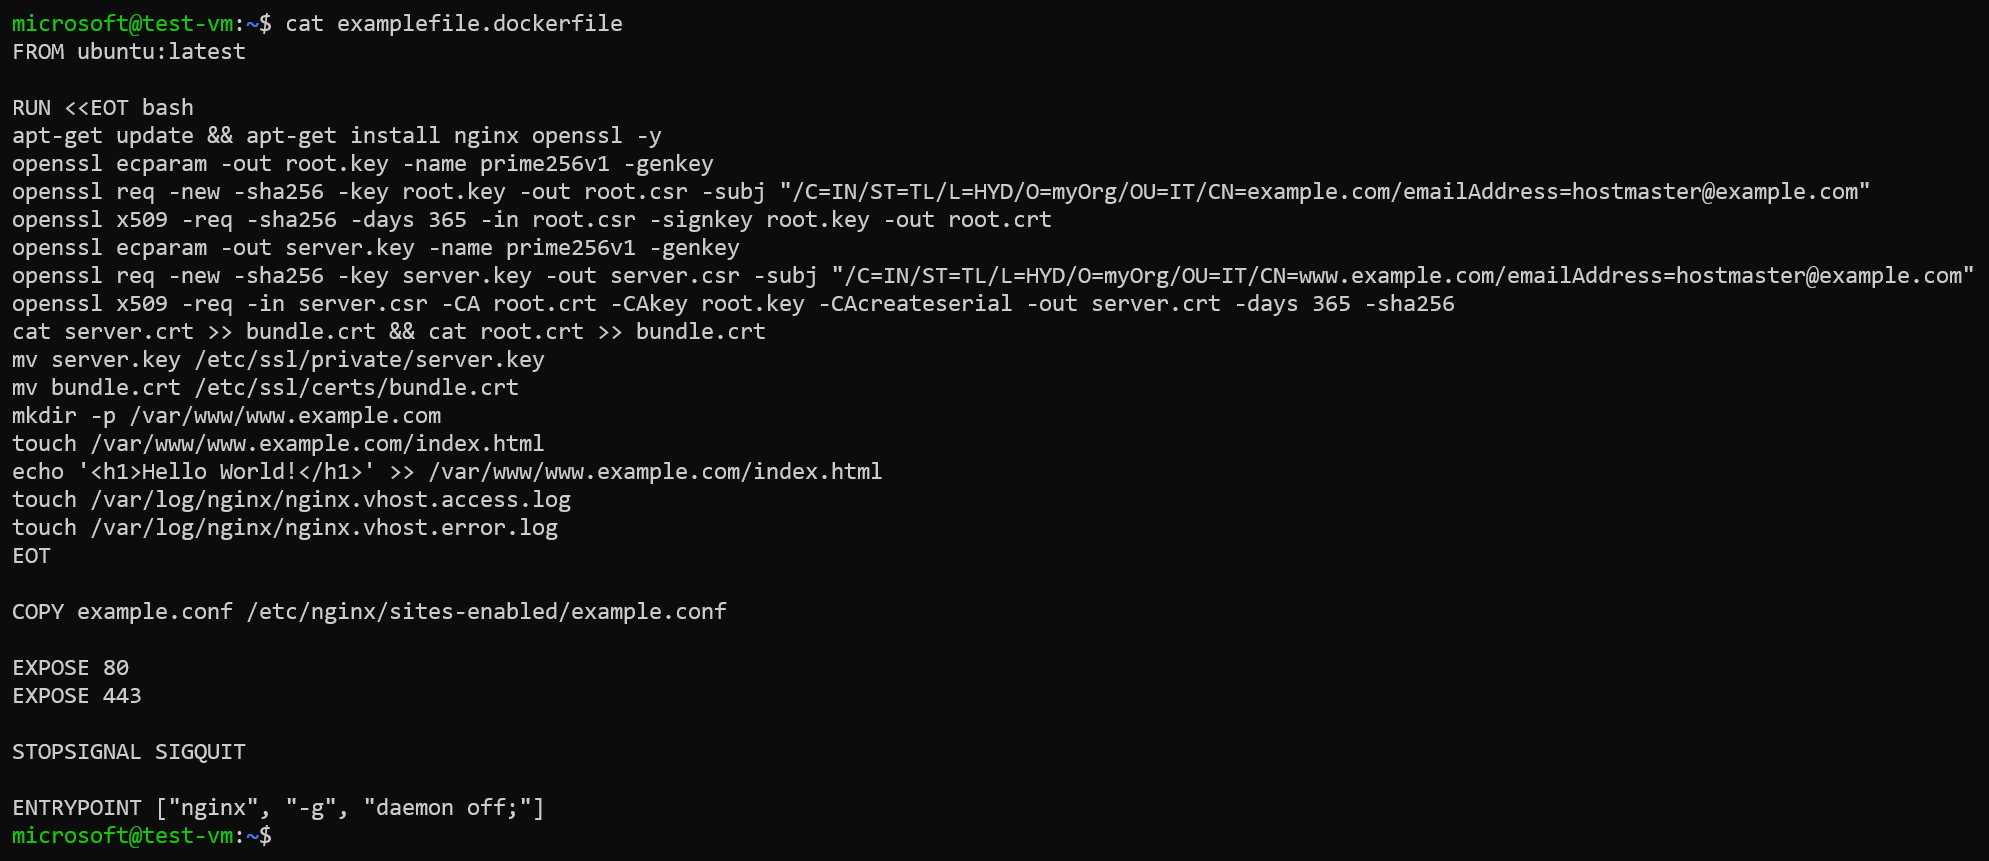
Create a file named examplefile.dockerfile with contents below. This file is your Docker file.
FROM ubuntu:latest

RUN <<EOT bash
apt-get update && apt-get install nginx openssl -y
openssl ecparam -out root.key -name prime256v1 -genkey
openssl req -new -sha256 -key root.key -out root.csr -subj "/C=IN/ST=TL/L=HYD/O=myOrg/OU=IT/CN=example.com/emailAddress=hostmaster@example.com"
openssl x509 -req -sha256 -days 365 -in root.csr -signkey root.key -out root.crt
openssl ecparam -out server.key -name prime256v1 -genkey
openssl req -new -sha256 -key server.key -out server.csr -subj "/C=IN/ST=TL/L=HYD/O=myOrg/OU=IT/CN=www.example.com/emailAddress=hostmaster@example.com"
openssl x509 -req -in server.csr -CA root.crt -CAkey root.key -CAcreateserial -out server.crt -days 365 -sha256
cat server.crt >> bundle.crt && cat root.crt >> bundle.crt
mv server.key /etc/ssl/private/server.key
mv bundle.crt /etc/ssl/certs/bundle.crt
mkdir -p /var/www/www.example.com
touch /var/www/www.example.com/index.html
echo '<h1>Hello World!</h1>' >> /var/www/www.example.com/index.html
touch /var/log/nginx/nginx.vhost.access.log
touch /var/log/nginx/nginx.vhost.error.log
EOT

COPY example.conf /etc/nginx/sites-enabled/example.conf

EXPOSE 80
EXPOSE 443

STOPSIGNAL SIGQUIT

ENTRYPOINT ["nginx", "-g", "daemon off;"]
Let’s explore and understand the instructions used in our Dockerfile.
The FROM instruction lets us to specify our base image for your application. A base image is an OS image on top of which we will configure our application and its dependencies to bouild our own image. There are many images available in the DockerHub which can be used as a base image. In this example, we are using an Ubuntu image.
The RUN instruction lets us declare the commands which we want to execute for configuring our applications and its dependencies. We could have multiple RUN instructions in a Dockerfile but we have used here-document for running multiple commands delimited by EOT instead.
The commands used are for installing Nginx and OpenSSL, generating self-signed SSL certificates, and creating a landing page (index.html) for our website.
The COPY instruction is used to copy the Nginx configuration file from our local system to the filesystem of the container.
The EXPOSE instruction lets the specified ports 80 and 443 to be in listening state at runtime of the container.
The STOPSIGNAL instruction lets us to set the system call signal that will be sent to the container when it is stopped exit. We use the SIGQUIT system call signal to gracefully stop the Nginx process when the container exits.
The ENTRYPOINT instruction lets us to specify the command which we want to execite when we run the container. The command nginx -g 'daemon off;' is for nginx to stay in the foreground, so that Docker can track the process properly (otherwise your container will stop immediately after starting).
Example:
Create the Nginx configuration file named example.conf with contents below. Please make sure that the example.conf and examplefile.dockerfile are in same directory.
server {
        listen 80;
        server_name www.example.com;
        return 301 https://www.example.com$request_uri;
}

server {
        listen 443 ssl;
        listen [::]:443 ssl;

        ssl_certificate /etc/ssl/certs/bundle.crt;
        ssl_certificate_key /etc/ssl/private/server.key;

        server_name www.example.com;
        access_log /var/log/nginx/nginx.vhost.access.log;
        error_log /var/log/nginx/nginx.vhost.error.log;

        root /var/www/www.example.com;
        index index.html;

        location / {
            try_files $uri $uri/ =404;
        }
}
Build a Docker image
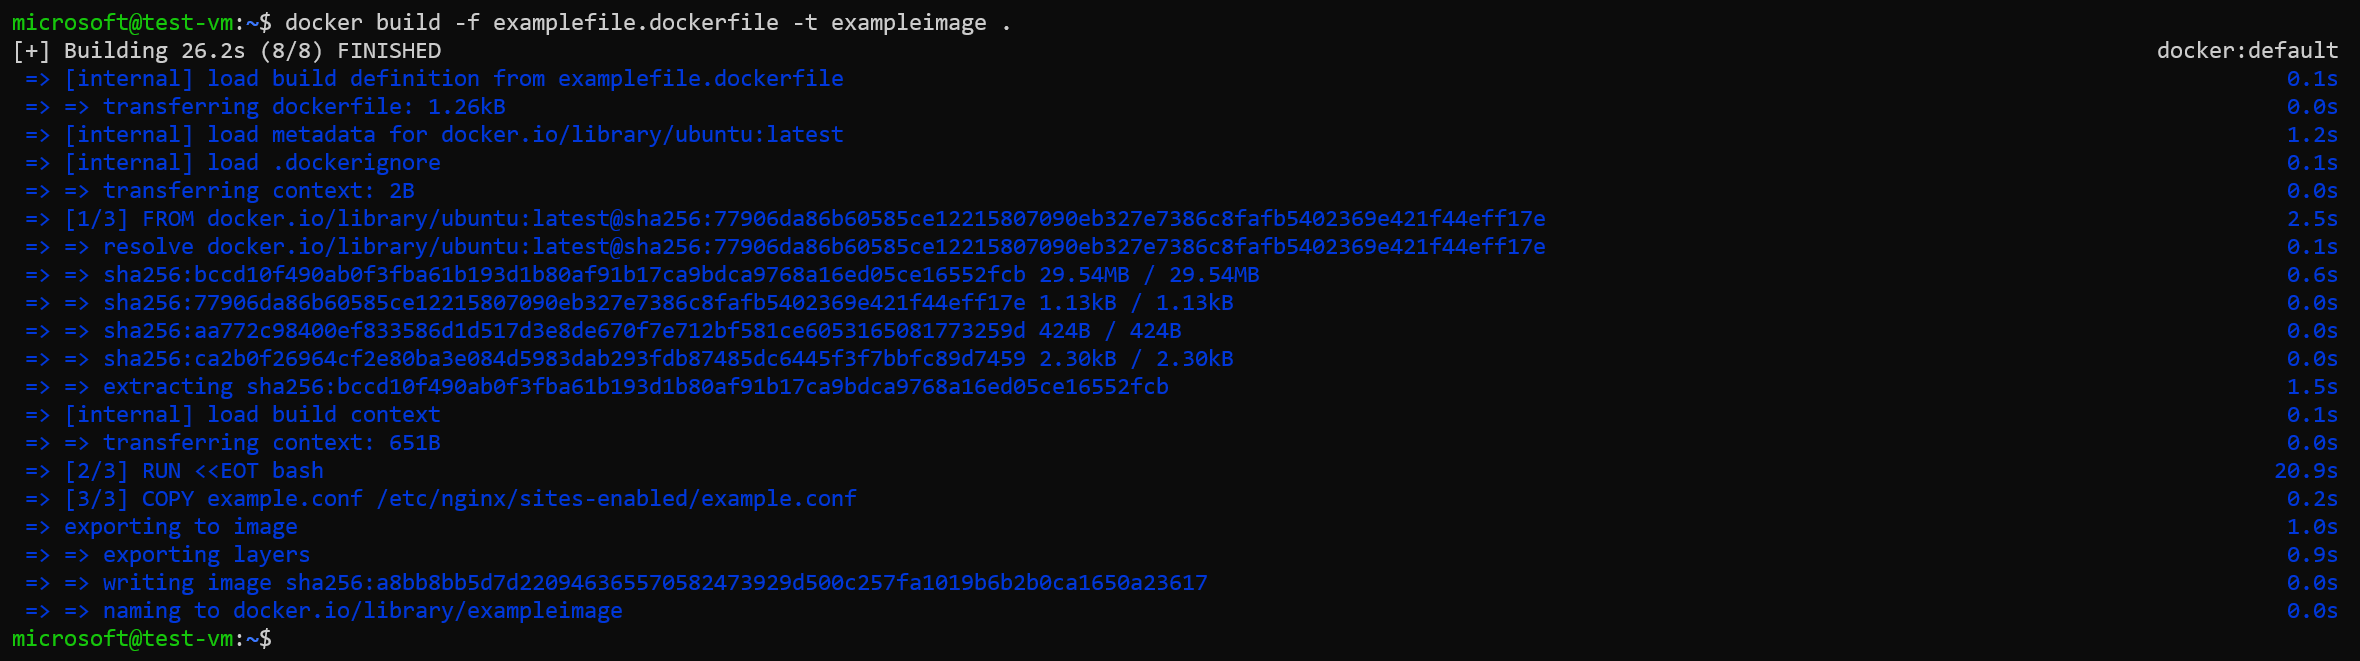
Execute the command below to build a Docker image.
docker build -f examplefile.dockerfile -t exampleimage .
We are copying the Nginx configuration file
example.conffrom our local filesystem to the filesystem of container for which the configuration fileexample.confmust be in the same directory as the Dockerfileexamplefile.dockerfileas we have specific context as our current working directory..
Example:
Run a Docker container
Execute the command below to run a Docker container.
docker run -d -p 80:80 -p 443:443 --name examplecontainer exampleimage
Although we have specified the ports 80 and 443 in the Dockerfile, the ports actually remain in listening state only in the container and in the host where the container is running. For opening the ports in the host, we use the
-p <hostport>:<containerport>option to map the host port to container port.
Execute the docker ps command to verify if the container starts without any issue.
Example:

Verify accessing the Nginx
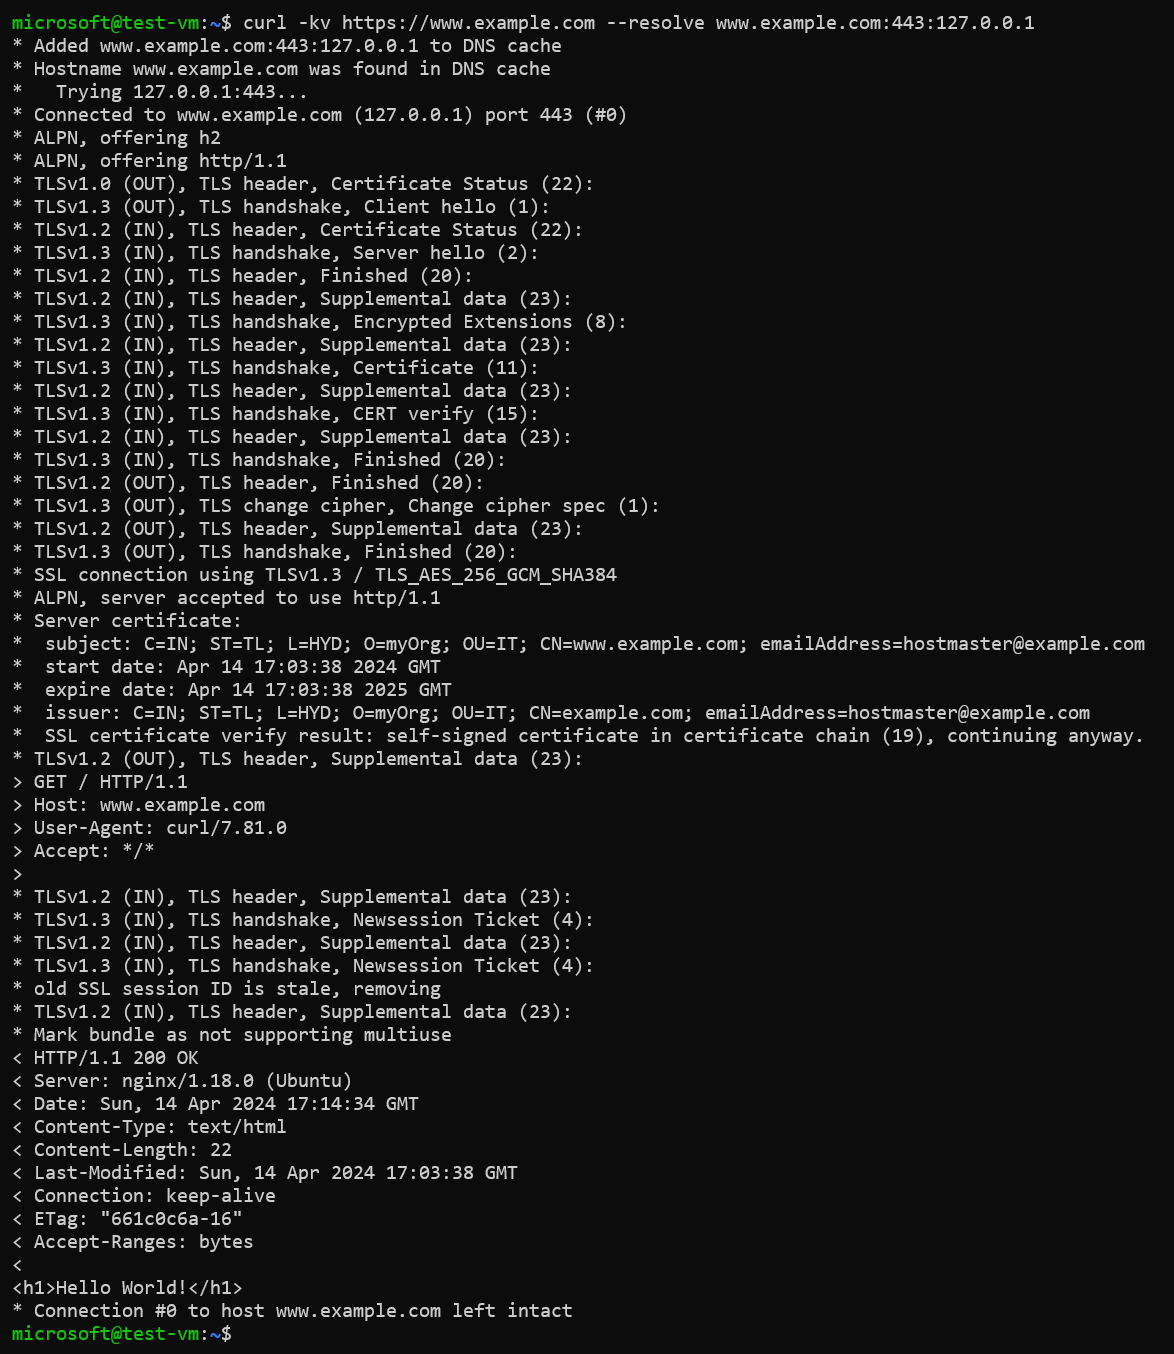
We will use the curl utility to verify if the web page is accessible from the host. We should be able to see the “Hello World” web page which we have configured in our Nginx container.
curl -v http://www.example.com --resolve www.example.com:80:127.0.0.1
curl -kv https://www.example.com --resolve www.example.com:443:127.0.0.1

Push image to Docker Hub
We have created a Docker image locally in our system so far. If we want to deploy additional containers then we need use the same image. When we build an image for enterprise applications where there are multiple teams involved then it is a must to have a central repository to store the Docker images so that authorized users could access it and use it for running containers.
Docker provides a conatiner registry called as the Docker Hub.
In this section, we will push our image to the Docker Hub and run a new container after pulling image from it.
We need to signup in Docker Hub to create our personal account. Once we have signedup in Docker Hub, we need to create a repository.
Example:
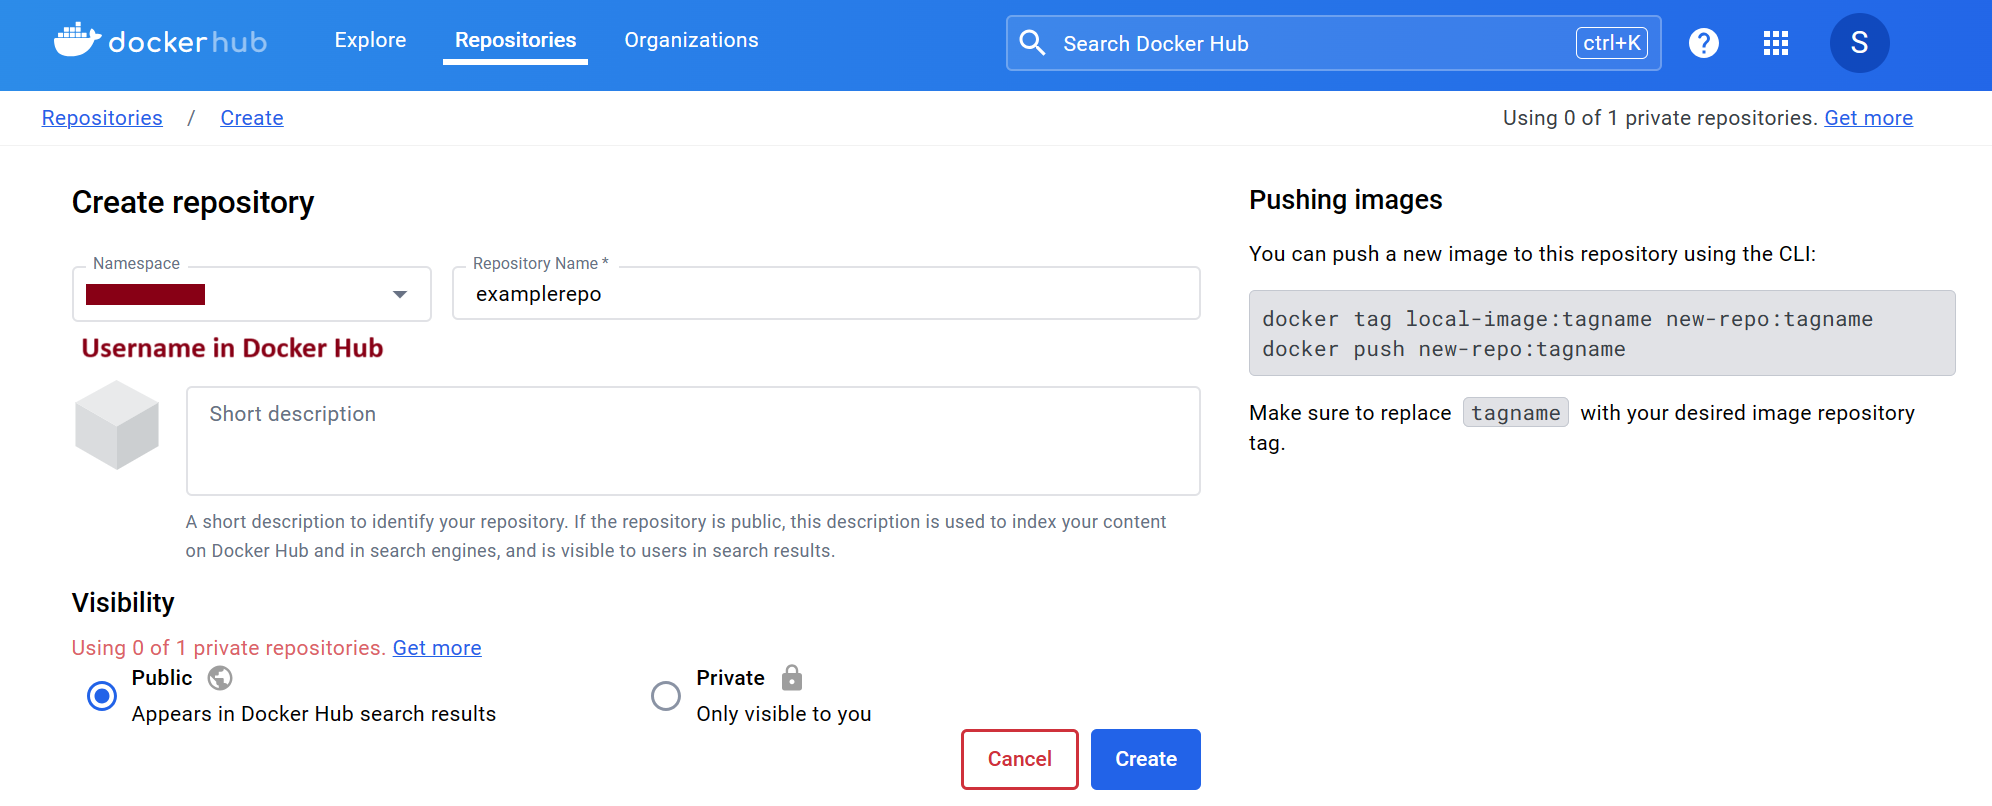
After creating the repository in Docker Hub, we will push our image by following the steps below.
-
Login to Docker Hub using
docker logincommand.
-
Update the tag of the image with username and name of the repository using
docker tagcommand. You could also specify the tag name. The tag name indicates the specific version of the image. If the tag name is not specified then Docker will use the default tag latest. In our example, we have changed the image name from exampleimage to examplerepo with tag 1.0.0.docker tag exampleimage <username>/examplerepo:1.0.0
-
Execute the
docker pushcommand to push the image to Docker Hub.docker push <username>/examplerepo:1.0.0
We have now successfully pushed our image to Docker Hub.
Removing the container, images, and cleaning up unused data of Docker
We could view the running containers in our local system using the docker ps command. If the command does return any output then the containers are not running and we could use docker ps -a command to view all containers.

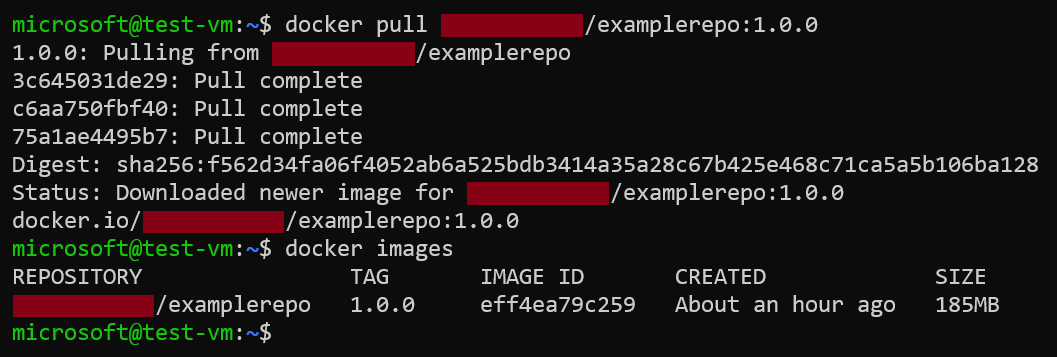
We could view the images using docker images command.

It is worth noting that updating a tag in existing image does not change image ID for the newly tagged image.
We could remove the container using the docker rm <containername or containerid>. Since our container examplecontainer is in running state, the command would fail and we need to execute docker rm -f <containername or ID> to remove the running container.
We could remove an image using the command docker rmi <imagename:tagname or imageid>. If there is any container using that image then the command would fail. We would need to remove the container created using that image first then remove the image.

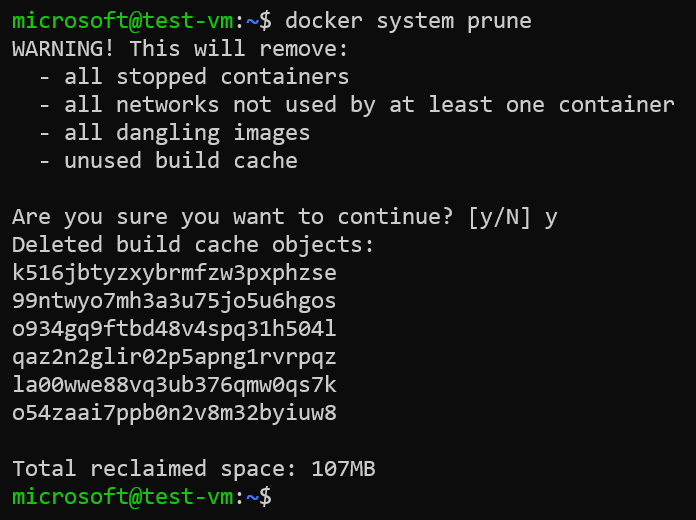
You could remove the unsued data which stored in cache by Docker when building images using the docker system prune command.
Pull image from Docker Hub
Now that we have removed the containers and images created so far and cleared cache of Docker.
We could pull image from Docker Hub using the docker pull command. We would pull the examplerepo:1.0.0 image from Docker Hub.
docker pull <username>/examplerepo:1.0.0
We could also run a container by using the image from the Docker Hub using the docker run command.
docker run -d <username>/examplerepo:1.0.0

Note that running containers from a container registry like Docker Hub does
docker image pullfirst and then run the container.