Deploy a Nginx web application on ACI
Overview
Azure Container Instance (ACI) is an on-demand serverless containerization service provided by Azure. ACI provides a very simple way to run the containers in Azure without orchestration.
Azure also provides Azure Container Registry (ACR) to store and maintain container images in Azure. Some of the features of ACR includes enabling private endpoints, service endpoints, controlling access using native firewall settings, etc.
In this blog, we will create an ACR, build image in ACR, and deploy ACI using the image from ACR.
Pre-requisites
We need to have Azure CLI installed for performing deployment.
Otherwise, deploy an Azure VM with Managed Identitiy assigned to Contributor role scoped to the Resource Group in which ACR and ACI will be provisioned.
Create an ACR
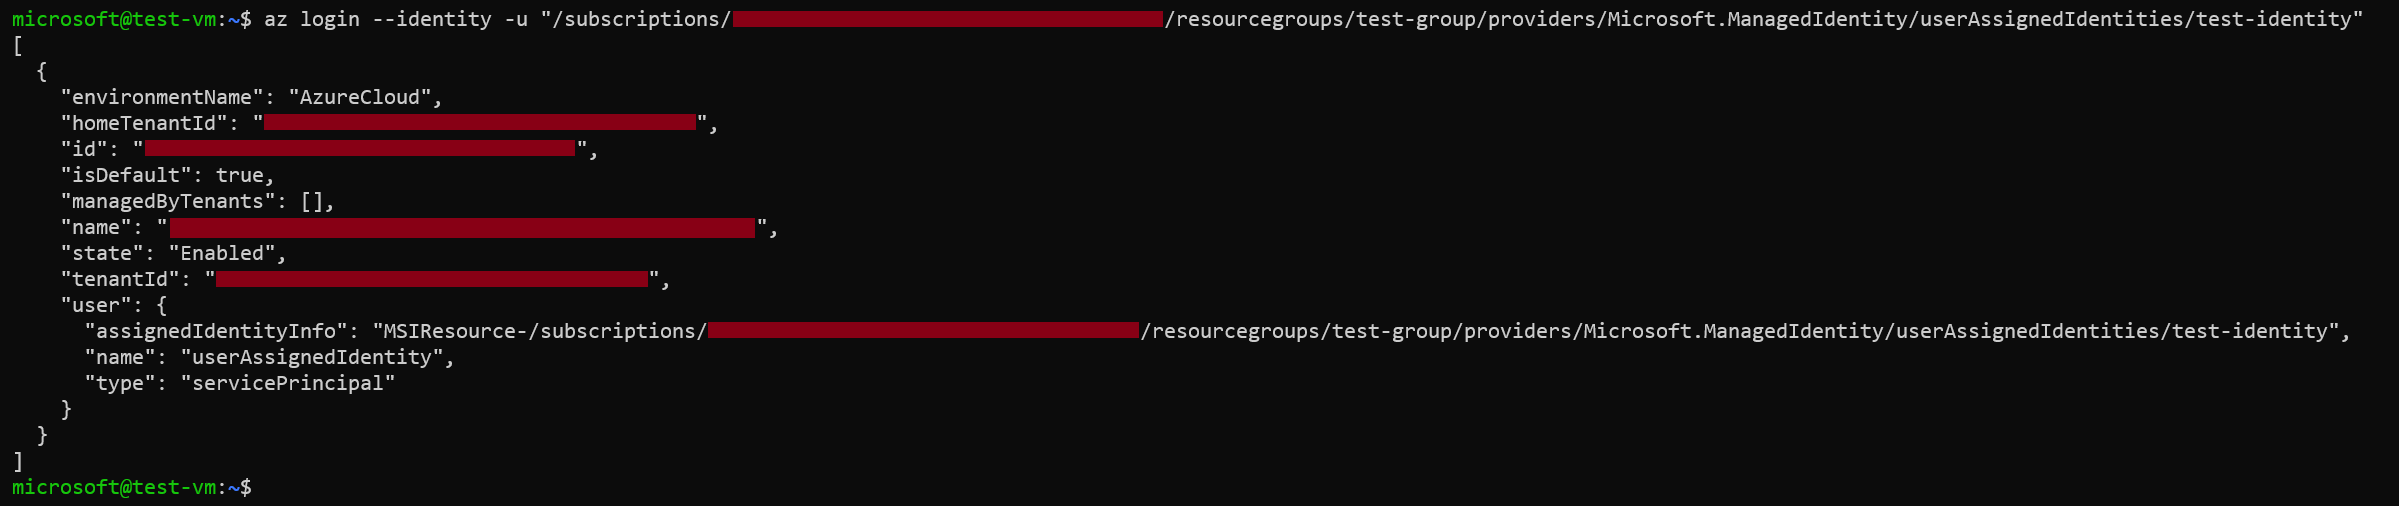
Login to Azure using the az login command. When not using Managed Identity or Service Principal, then you will be prompted for authentication.
az login --identitiy -u "<Resource ID of Managed Idenitity>"
Example:
You could execute az account set --subscription "<subscription ID>" command in case there are multiple subscriptions.
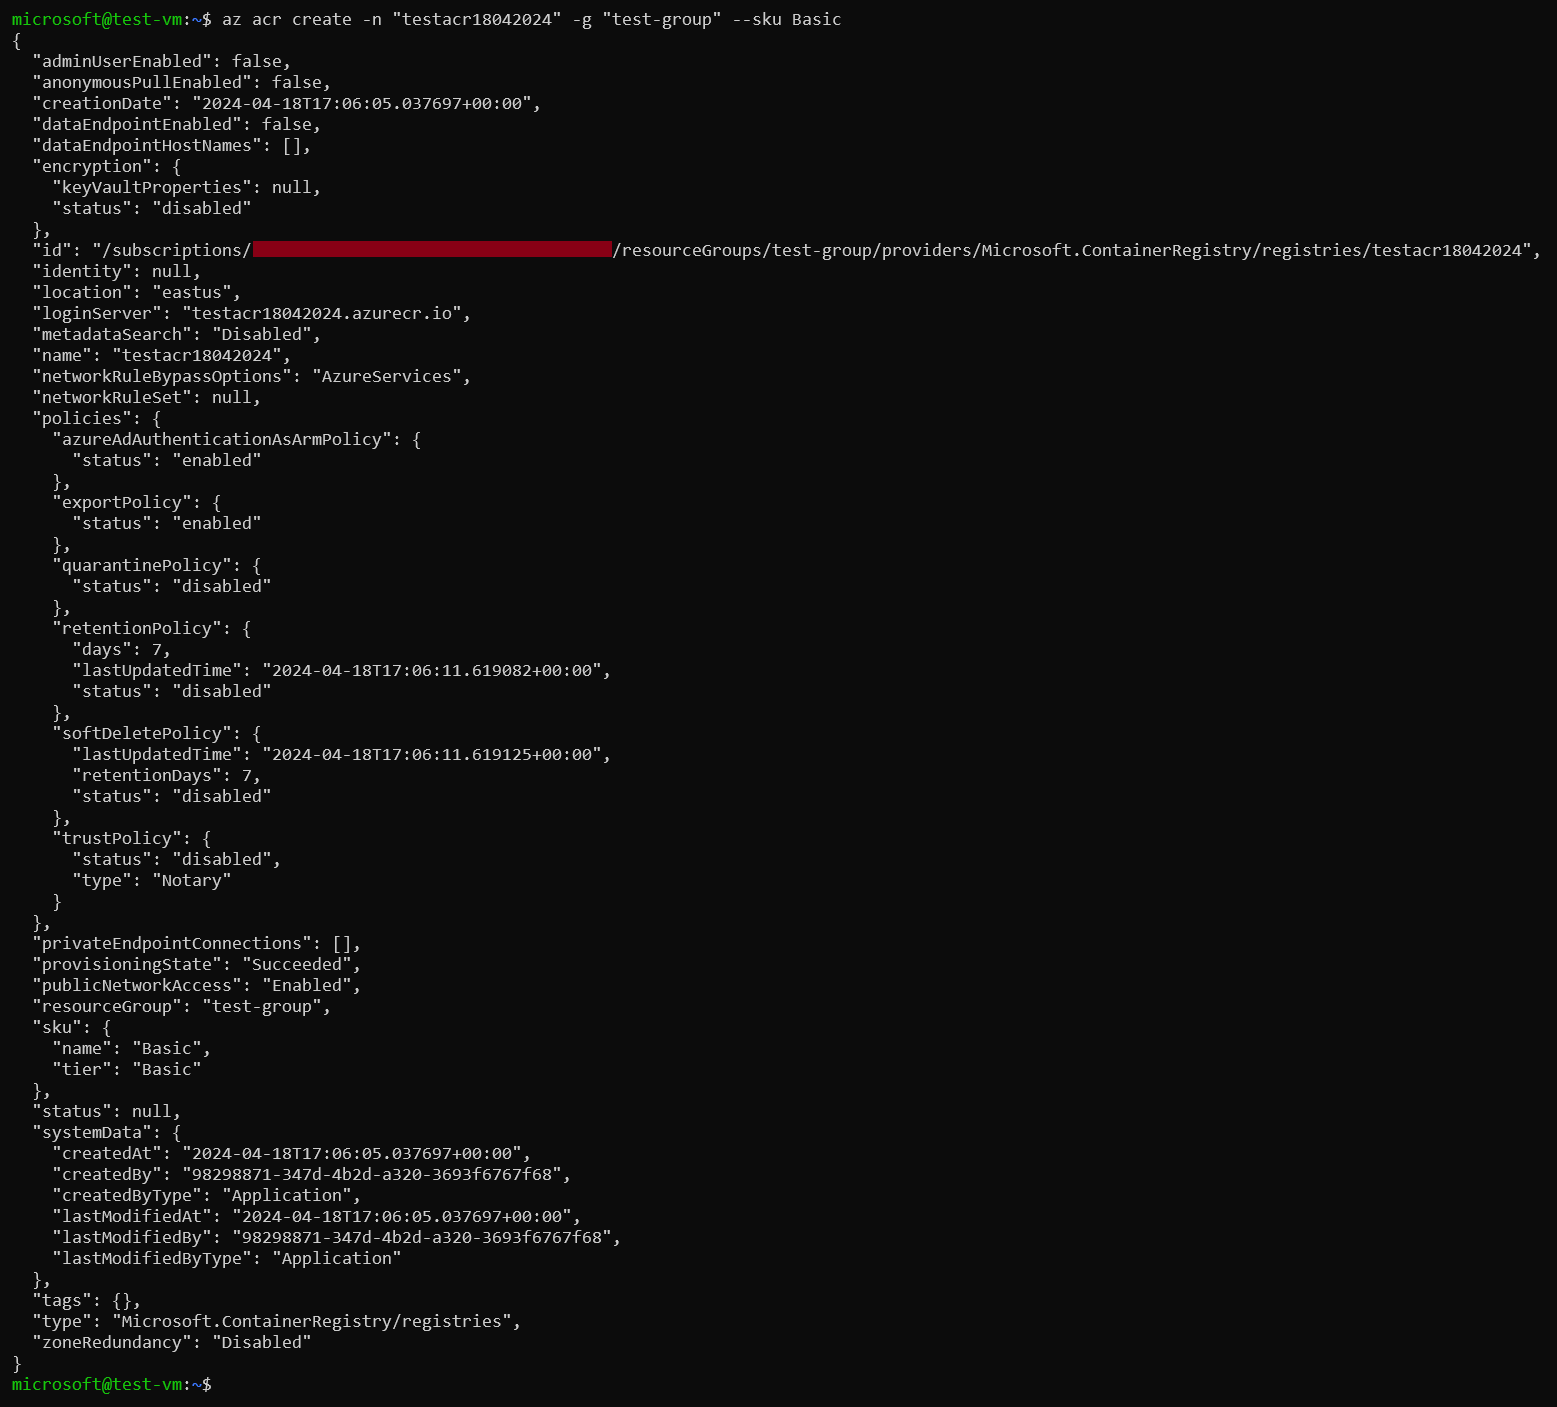
We can create an ACR by executing the command below. Please make sure that the name of ACR is globally unique.
az acr create -n "<name of ACR>" -g "<resource group>" --sku Basic
Example:
Build an image using Azure CLI
The az acr build command is used to build an image in the same way we use the docker build command. Therefore, we need to prepare the Dockerfile and the context to build images.
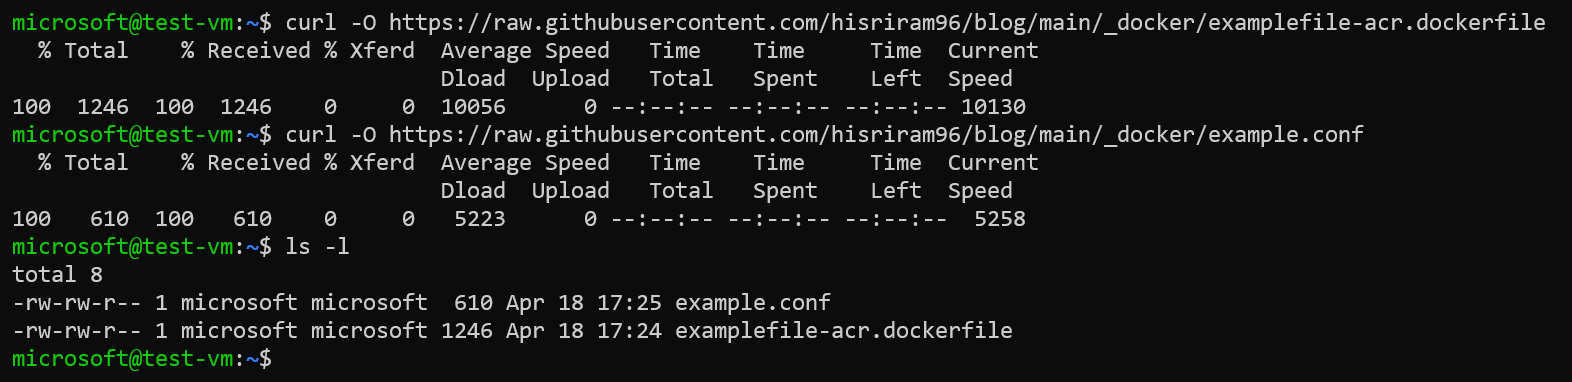
You could download the Dockerfile examplefile-acr.dockerfile and context file example.conf for this example using curl utility.
curl -O https://raw.githubusercontent.com/hisriram96/blog/main/_docker/examplefile-acr.dockerfile
curl -O https://raw.githubusercontent.com/hisriram96/blog/main/_docker/example.conf
We could execute the following command to build an image. This command builds image in the ACR and in the local system.
az acr build -r <name of ACR> -t examplerepo/exampleimage:1.0.0 -f examplefile-acr.dockerfile .
Note the similarity in the
az acr buildanddocker buildcommands. The-roption is used to specify the registory where the image will be stored. The other options-tis used to specify the image name and tag name for the image and-fis used for specifying the Dockerfile as we do indocker buildcommand.
Deploy an ACI
Now that we have built our image in ACR, we can deploy ACI for running our container using the following command.
az container create -n "test-container" -g "test-group" --acr-identity "<resource ID of Managed Identity>" --assign-identity "<resource ID of Managed Identity>" --os-type Linux --cpu 1 --memory 1 --image <name of ACR>.azurecr.io/examplerepo/exampleimage:1.0.0 --ports 80 443 --protocol TCP --restart-policy OnFailure --sku Standard --ip-address Public
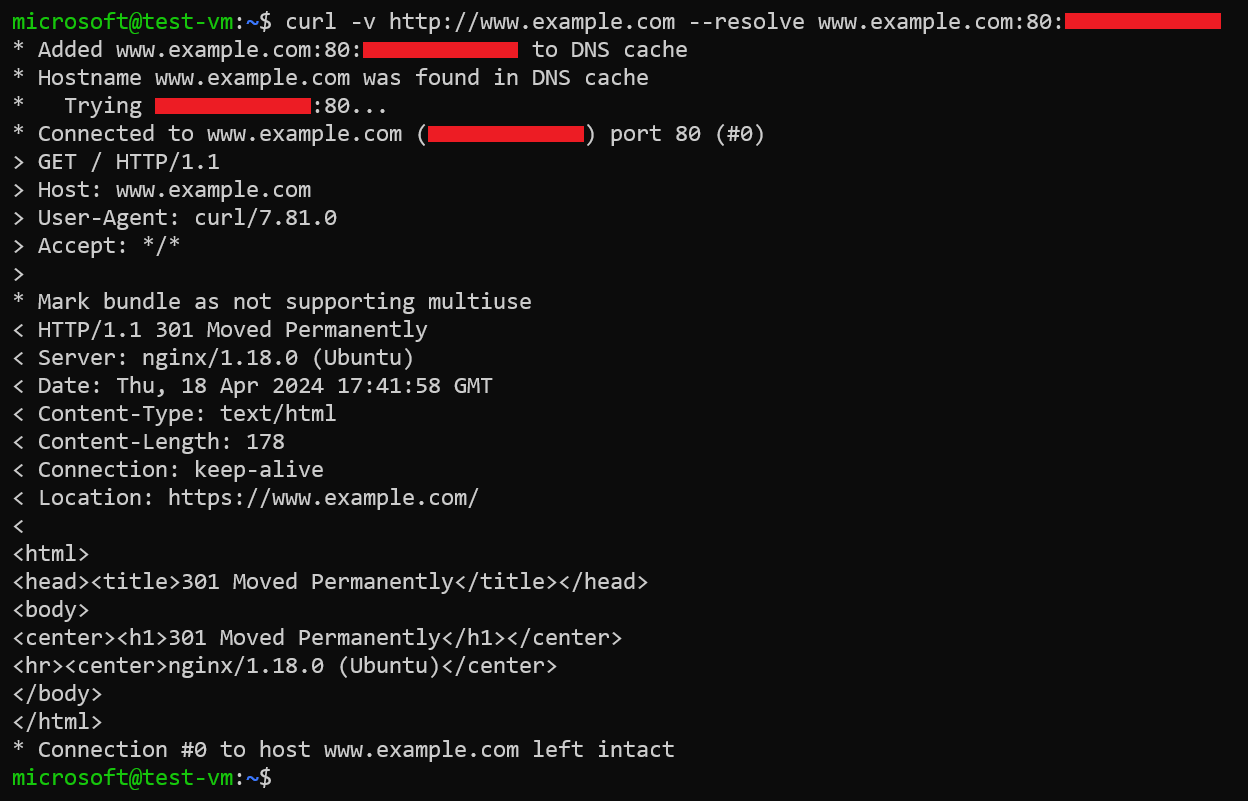
Verify accessing the Nginx
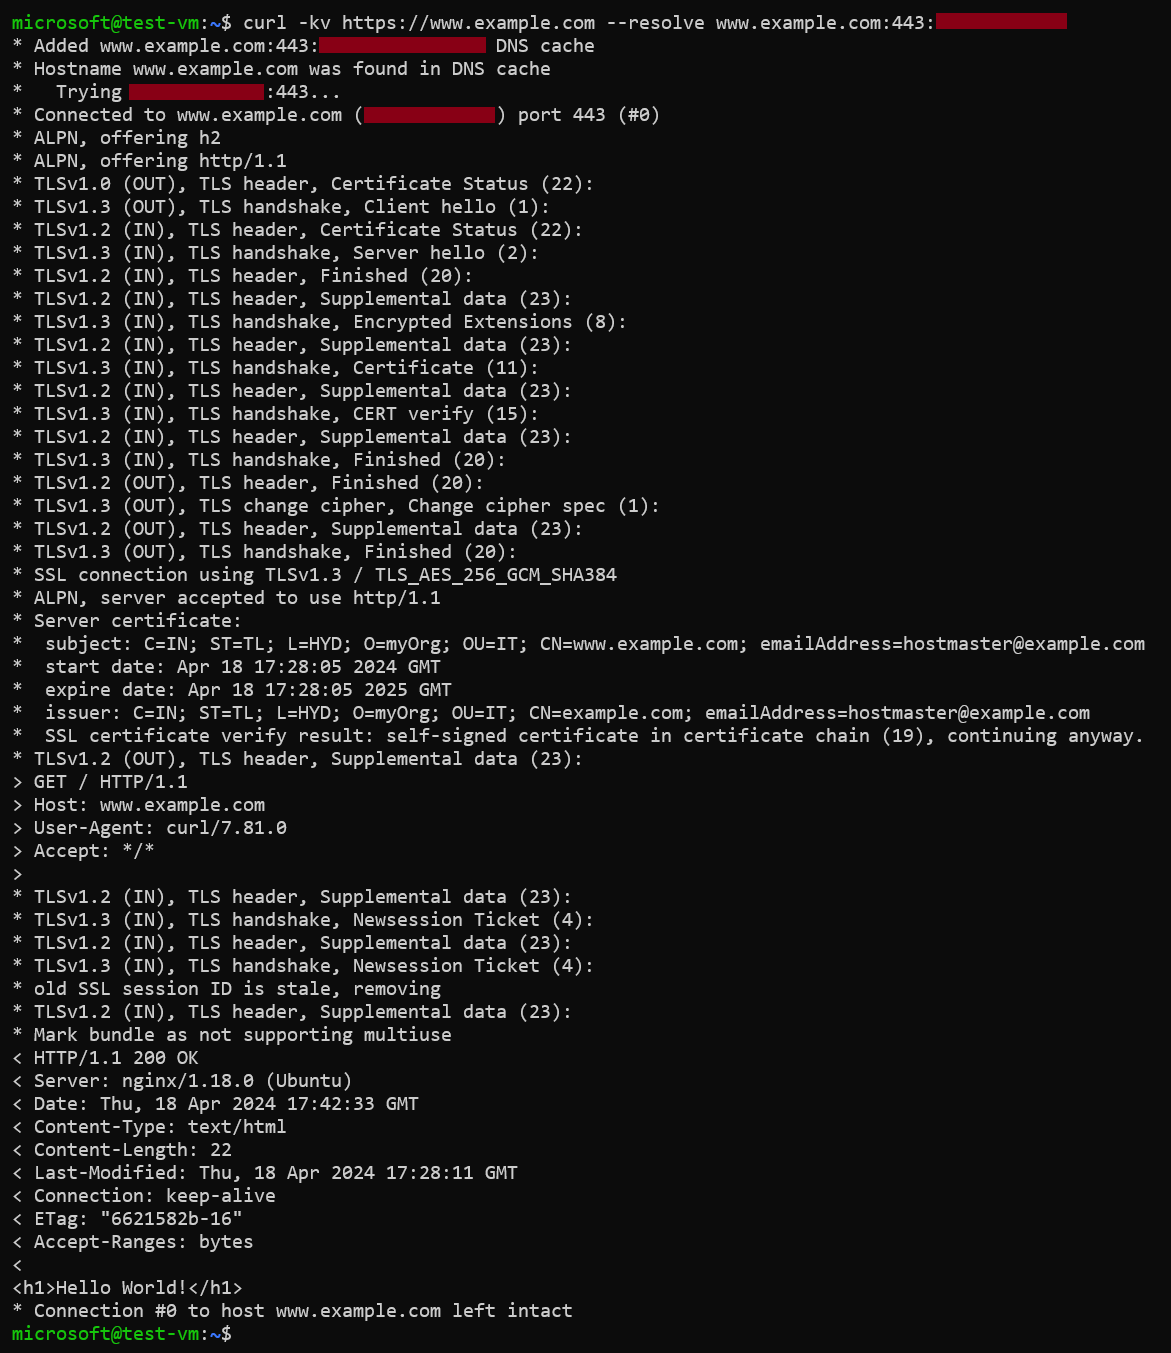
Once our ACI is deployed, we can use the curl utility to verify if the web page is accessible using the public IP address of the ACI. We should be able to see the “Hello World” web page which we have configured in our Nginx container.
curl -v http://www.example.com --resolve www.example.com:80:127.0.0.1
curl -kv https://www.example.com --resolve www.example.com:443:127.0.0.1